Tag: ios

  • How to Transfer Data From Android to iPhone: A Step-by-Step Guide

    How to Transfer Data From Android to iPhone: A Step-by-Step Guide


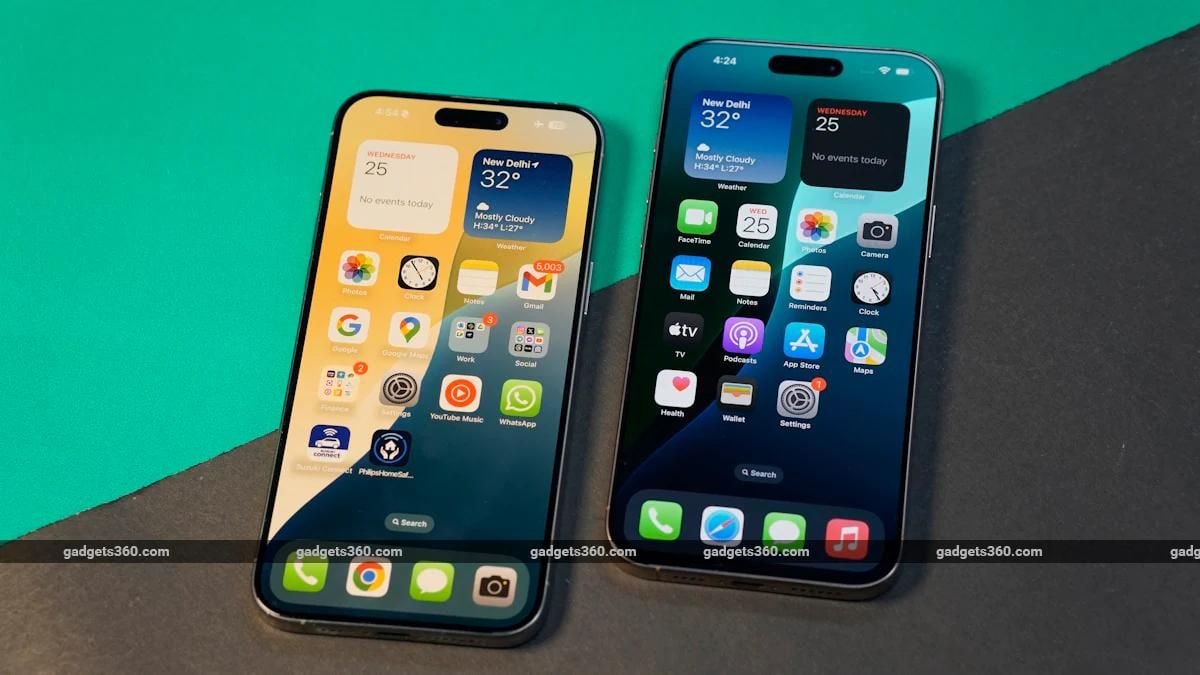
    Transferring data from your old Android smartphone to a new iPhone can be a challenge for many. There are times when you feel anxious about what will happen to the data on your Android device when you switch to an iPhone. However, it is relatively easy. Apple has made it easy for customers to switch from Android to iPhone. So, if you have recently bought your first iPhone and want to transfer the data from your old Android device, then this guide is meant for you. In this article, we will talk about a step-by-step guide on how you can transfer data from Android to iPhone. So, without further ado, let’s get started.

    Things to Remember Before Transferring Data from Android to iPhone

    However, before we begin with the transfer process, there are a few things that you need to know. There are some good practices that you should follow before transferring the data:

    Battery Percentage: Make sure that both your Android and new iPhone are charged to at least 75 percent of their battery. If possible, keep both devices plugged into a power source throughout the process.

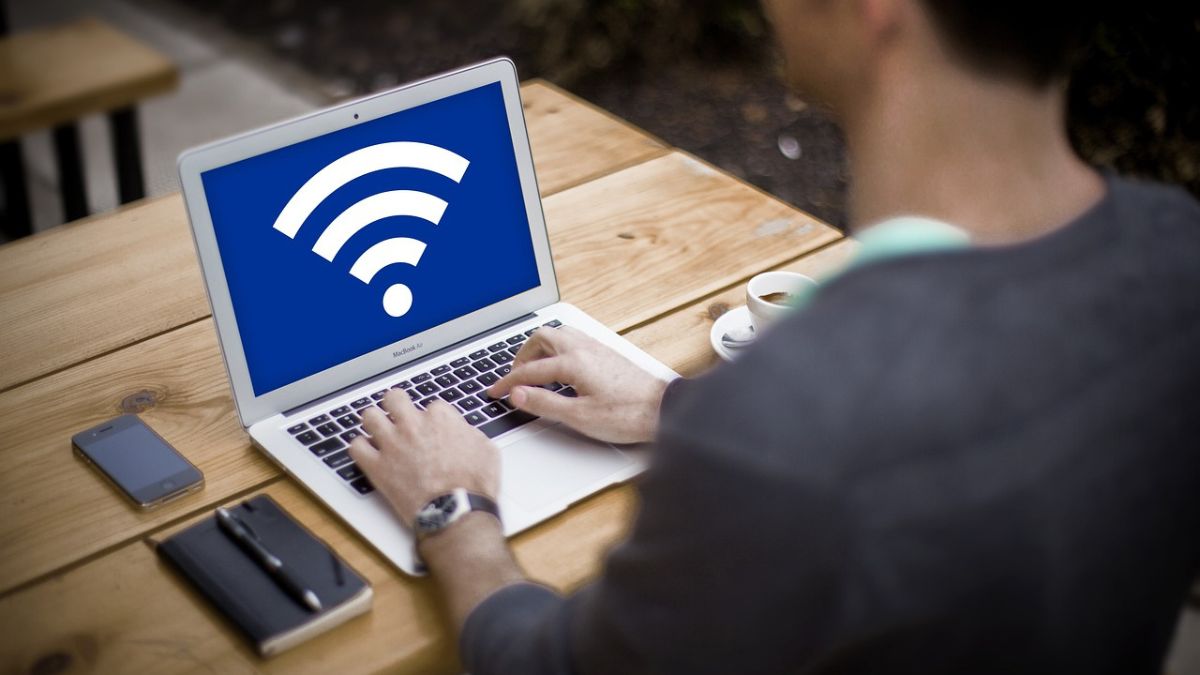
    Stable Wi-Fi Connection: As the whole transfer process is done wirelessly, make sure that you are connected to a stable Wi-Fi connection.

    Cross-check the data you need to transfer: Your iPhone may not have enough storage capacity to receive every file from your older Android device. This is why it is important to first organize and figure out which data you want to transfer to your new iPhone.

    How to Transfer Data from Android to iPhone

    The best way to transfer the data from Android to iOS device is by using the Move to iOS app from Apple. The app is available to download on Google Play Store. Here’s how you can transfer the data from Android to iOS using the Move to iOS app.

    1. Download and install the Move to iOS app on your Android smartphone.
    2. Now, initiate the setup of your new iPhone and then click on the Apps & Data section.
    3. Now tap on Move Data from Android.
    4. On your Android device, open the Move to iOS app and tap on Continue after agreeing to Privacy policies and granting access to your files and location.
    5. Your iPhone screen will show a one-time code. Enter the code on your Android device to enable the pairing process.
    6. Once done, select the data you want to transfer to your new iPhone, such as apps, photos, videos, and more.
    7. Now, leave both devices alone until the loading bar on your IOS device is finished.
    8. Once the loading bar is finished, tap Done on your Android device, tap Continue on your iPhone, and follow the on-screen instructions to finish setting up your new iPhone.

    With this, you will be able to effortlessly transfer data from your Android smartphone to your new iPhone. However, it is important to note a few things. First, one can only transfer apps that are available on both the Google Play Store and the Apple App Store. Moreover, one cannot transfer music, books, and PDFs through the Move to iOS application. One needs to manually transfer these files using iTunes or other methods.

    Frequently Asked Questions (FAQs)

    What data can I transfer from Android to iPhone using the Move to iOS app?

    With the Move to iOS application, you can transfer almost all the data from your Android to your iPhone. The app allows you to transfer files like contacts, messages, photos and videos, bookmarks, email accounts, calendars, Chrome extensions, and more. However, you cannot transfer music, books, and PDFs using the app.

    Is transferring data from Android to iPhone easy?

    Yes, transferring data from your Android to your iPhone is quite easy. All you need to do is download the Move to iOS application on your Android device and then follow the above-mentioned steps.

    Can I use the “Move to iOS” app even if I already set up my iPhone?

    No, you cannot use the ‘Move to iOS’ application if you have already set up your iPhone. The app only works while you are setting up your new iPhone.


    Source link

  • How to Unlock WhatsApp Chats on Android and iOS: A Step-by-Step Guide

    How to Unlock WhatsApp Chats on Android and iOS: A Step-by-Step Guide


    WhatsApp continues to be a preferred platform for millions worldwide. With its focus on user privacy, WhatsApp offers a range of features to safeguard conversations, one of which is the Chat Lock feature. This tool allows users to secure specific chats with an additional layer of protection, such as a password, fingerprint or Face ID. This guide will walk you through the process of unlocking WhatsApp chats. We’ll also cover how to set up and remove chat locks, as well as explore the benefits of using this feature.

    What is WhatsApp Chat Lock?

    WhatsApp’s Chat Lock is designed for user privacy by allowing individuals to secure specific chats. Once locked, these chats are moved to a separate “Locked Chats” folder, which can only be accessed with the designated authentication method. This feature is especially useful for keeping sensitive conversations away from prying eyes, particularly on shared or borrowed devices.

    Key Features of Chat Lock:

    1. Selective Locking: Lock only specific chats instead of the entire app.
    2. Hidden Notifications: Notifications from locked chats are concealed, ensuring added privacy.
    3. Multiple Security Methods: Depending on your device, you can use a PIN, password, fingerprint or Face ID to secure chats.

    Now that we understand what Chat Lock is, let’s dive into how to use this feature effectively, starting with locking chats.

    How to Lock Chats on WhatsApp

    Before unlocking chats, it’s important to understand how to lock them. The Chat Lock feature ensures your private conversations are secure and here’s how to enable it:

    On Android

    1. Open WhatsApp and select the chat you wish to lock.
    2. Tap on the contact’s or group’s name at the top of the screen.
    3. Scroll down and choose “Chat Lock.”
    4. Enable the toggle for “Lock this chat with fingerprint or PIN.”
    5. Follow the on-screen instructions to confirm your authentication method.

    On iOS

    1. Launch WhatsApp and open the chat you want to secure.
    2. Tap the contact’s or group’s name at the top.
    3. Select “Chat Lock” from the menu.
    4. Enable Face ID or passcode locking by toggling the option.
    5. Authenticate with your Face ID or passcode to complete the setup.

    Once locked, these chats are moved to a “Locked Chats” folder, hidden from the main chat list. Notifications from these chats are also concealed to enhance privacy.

    How to Unlock Chats on WhatsApp

    When it’s time to access your locked chats, the process is straightforward. Let’s explore how to unlock chats on Android and iOS devices.

    How to Unlock Chats on Android?

    1. Open WhatsApp and scroll to the top of the chat list.
    2. Tap on the “Locked Chats” folder.
    3. Authenticate using your fingerprint, PIN or pattern.
    4. Select the chat you want to view.
    5. While in the locked chat, tap on the contact’s or group’s name.
    6. Navigate to “Chat Lock” and disable the toggle.
    7. The chat will now return to the main chat list without requiring authentication.

    How to Unlock Chats on iOS?

    1. Open WhatsApp and navigate to the “Locked Chats” section.
    2. Authenticate using Face ID, Touch ID or your passcode.
    3. Select the desired chat to access it.
    4. Long-press the contact’s name at the top to open chat settings.
    5. Tap on the Unlock Chat option.
    6. The chat will appear in your main chat list without any lock.

    How to Remove Chat Lock on WhatsApp?

    If you no longer need to keep a chat locked, removing the lock is simple. Follow these steps:

    1. Open WhatsApp and go to the “Locked Chats” folder.
    2. Authenticate to access the list of locked chats.
    3. Select the chat you want to unlock.
    4. Open the chat, tap the contact’s or group’s name and navigate to “Chat Lock.”
    5. Disable the toggle to remove the lock.

    Once removed, the chat will be visible in your main chat list and accessible without any authentication.

    Benefits of Using WhatsApp Chat Lock

    The Chat Lock feature offers multiple advantages that make it a must-use tool for privacy-conscious individuals:

    • Enhanced Privacy: Keep sensitive conversations secure from prying eyes, especially on shared devices.
    • Selective Locking: Lock only specific chats rather than the entire app, offering greater flexibility.
    • Hidden Notifications: Notifications from locked chats are hidden to prevent unauthorised access.
    • Multiple Security Options: Use PIN, password, fingerprint or Face ID to protect your chats, based on your preference and device capabilities.
    • Separate Folder: Locked chats are stored in a dedicated folder, keeping them organised and out of sight.

    Frequently Asked Questions (FAQs)

    Can you lock group chats or muted chats in WhatsApp?

    Yes, WhatsApp allows you to lock individual and group chats, including muted ones. The locking process remains the same for all types of conversations.

    Will the recipient be notified if I lock the chat?

    No, the recipient will not be notified if you lock a chat. The Chat Lock feature is private and does not alert the other participant.

    How do you access locked chats on WhatsApp?

    To access locked chats, go to the “Locked Chats” folder at the top of your chat list. Authenticate using your chosen method such as PIN, fingerprint, Face ID, etc. to view and interact with the chats.


    Source link

  • How to Delete Incognito Search History on Android, iOS, Windows, and Mac

    How to Delete Incognito Search History on Android, iOS, Windows, and Mac


    Incognito mode offers a sense of privacy while browsing the internet. Yet, contrary to popular belief, it doesn’t make your activities completely invisible. Many websites, apps and other platforms can see your activities. Among the data, search history, DNS queries or cached data might still be accessible in certain scenarios. Deleting incognito search history on different devices can enhance your privacy further. This guide explains the step-by-step process for Android, iOS, Windows, and Mac users to delete the incognito search history.

    What is Incognito Mode?

    Incognito mode, also known as private browsing, is a feature in most web browsers that prevents the storage of your browsing history, cookies, and site data. While it ensures your activity isn’t recorded locally on your device, it doesn’t offer complete anonymity. Your internet service provider, network administrators, and websites you visit can still track your activities. Understanding its limitations is essential to maintaining online privacy.

    How to Turn on Incognito Mode?

    Before we dive into how to delete your history, it is important to learn how to turn on the incognito mode. Enabling incognito mode is simple but. varies slightly depending on the browser or device you’re using. Here is how you can turn on incognito mode:

    For Chrome:

    • Open Chrome
    • Tap the three-dot menu in the top-right corner
    •  Select New Incognito Tab to browse privately

    For Safari:

           On iPhone or iPad

    • Open Safari.
    • Tap the tab switcher icon.
    • Select Private in the bottom-left corner and tap Done.

           On Mac:

    • Open Safari.
    • Go to the File menu.
    •  Select New Private Window.

    For Windows (Microsoft Edge):

    • Open Microsoft Edge.
    •  Click the three-dot menu in the top-right corner.
    •  Choose New InPrivate Window.

    How to Delete Incognito Search History on Android?

    While browsing in incognito mode on Android devices doesn’t save history directly in your browser, traces might still be stored in other areas like DNS cache or network logs. To ensure a thorough cleanup, follow these steps:

    Clear App Cache:

    • Go to Settings > Apps.
    • Select your browser (e.g., Chrome or Firefox).
    • Tap on Storage > Clear Cache.

    Clear Activity on Google Account:

    • Open the Google app or visit My Activity.
    • Tap on Delete activity by > Select Incognito activities > Confirm deletion.

    How to Delete Incognito Search History on iOS?

    Deleting traces of incognito activity on iPhones or iPads involves clearing browser data and addressing DNS cache. Here’s how:

    Clear Browser Data:

    For Safari

    1. Go to Settings
    2.  Go to Safari
    3. Select Clear History and Website Data.

    For Chrome

    1. Open Chrome
    2. Tap the three-dot menu
    3. Go to Settings
    4. Select Privacy
    5. Click Clear Browsing Data.

    Flush DNS Cache

    • Open the Settings app.
    • Toggle Airplane Mode on and off, or restart your device to refresh the DNS cache.

    Review App Permissions

    • Check any apps linked to your browsing activity to ensure no logs are stored.

    How to Delete Incognito Search History on Windows?

    Even while using incognito mode, your browsing data can leave traces in temporary files or DNS caches. To delete incognito history on Windows:

    Flush DNS Cache:

    • Open the Command Prompt (as Administrator).
    • Type ipconfig /flushdns and press enter.

    Delete Temporary Files:

    • Press Win + R, type %temp%, and hit enter.
    • Select all files and delete them.

    Clear Browser Data:

    For Chrome

    1. Go to Settings
    2. Select Privacy and Security
    3. Click on Clear Browsing Data
    4. Choose “All Time”
    5. And then Clear.

    For Edge

    1. Navigate to Settings
    2. Go to Privacy, Search and Services
    3. Click on Clear Browsing Data.

    How to Delete Incognito Search History on Mac?

    To clear incognito search history on macOS, focus on clearing browser data and DNS cache. Follow these steps:

    Flush DNS Cache:

    • Open the Terminal app.
    • Type sudo dscacheutil -flushcache; sudo killall -HUP mDNSResponder and press enter.

    Clear Browser Data:

    For Safari

    1. Go to Safari
    2. Then Preferences
    3. Click on Privacy
    4. Go to Manage Website Data
    5. Select Remove all.

    For Chrome

    1. Open Chrome
    2. Click the three-dot menu
    3. Go to Settings
    4. Click on Privacy
    5. Select Clear Browsing Data.

    Frequently Asked Questions (FAQs)

    What des deleting incognito history do?

    Deleting incognito history clears temporary files, DNS logs, and cached data that might have been generated during your browsing session. It reduces the chances of third parties accessing residual data.

    Can deleted incognito history be seen?

    In some cases, yes. Network administrators, ISPs, or individuals with access to forensic tools might retrieve browsing logs. Deleting history makes access harder but not impossible.

    Can anyone see my history after I delete it?

    While deleting history removes visible traces from your device, external records (e.g., ISP logs) might still exist. Using encryption tools, such as VPNs, can help minimise exposure.

    Can anyone recover incognito history?

    Sophisticated recovery tools can sometimes retrieve deleted data. However, thorough deletion methods, combined with encryption tools, can significantly lower the risk of recovery.


    Source link

  • How to Check WiFi Password on Android, iOS, Windows, and macOS

    How to Check WiFi Password on Android, iOS, Windows, and macOS


    Has it ever happened that you are trying to connect a new device to your wi-fi and you suddenly forgot the password? For many users, remembering the WiFi password can be a hassle, especially when connecting new devices or sharing access with guests. Fortunately, there are straightforward methods to retrieve your WiFi password. In this blog, you can learn how to check your wi-fi password on Android, iOS, Windows, and macOS. This guide will walk you through each method step-by-step.

    How to Check WiFi Password on Android

    On Android devices, the method to check your WiFi password varies depending on the version of the operating system you are using. Here’s how to find it:

    For Android 10 and Above:

    1. Open the Settings app.
    2. Tap on Network & Internet.
    3. Select Internet and locate your connected WiFi network.
    4. Tap the gear icon next to the network name.
    5. Press the Share button (this appears as a QR code icon).
    6. Authenticate using your device’s unlock code or biometrics if prompted.
    7. The WiFi password will appear below the QR code.

    This method is convenient for sharing access, as others can connect by simply scanning the QR code.

    How to Check WiFi Password on iOS

    Apple restricts direct access to saved WiFi passwords on iPhones, but there are alternative methods:

    1. Open the Settings app on your iPhone
    2. Tap on Wi-Fi to view the list of available networks.
    3. Find the WiFi network you are currently connected to and tap the “i” icon (information icon) next to it.
    4. Tap on the Password field. You will be prompted to authenticate using Face ID, Touch ID, or your device passcode.
    5. Once authenticated, the password will be displayed.
    6. You can tap Copy to share it with others or write it down.

    How to Check WiFi Password on Windows

    Windows makes it easy to retrieve saved WiFi passwords with these methods:

    Using the Control Panel:

    1. Open the Control Panel and go to Network and Sharing Center.
    2. Click on your active WiFi connection name.
    3. In the new window, select Wireless Properties.
    4. Switch to the Security tab.
    5. Check the box labelled Show characters to reveal the password.

    Using Command Prompt:

    1. Open Command Prompt as an administrator.

    Type the following command:

    ‘netsh wlan show profile name=”YourWiFiName” key=clear

    1. Replace YourWiFiName with your network name
    2. Press Enter.
    3. Look for the line labelled Key Content, which displays the password.

    How to Check WiFi Password on macOS

    macOS users can easily retrieve saved WiFi passwords using the following method:

    1. Open Keychain Access (found in Applications > Utilities).
    2. Use the search bar to find your WiFi network name.
    3. Double-click the network entry.
    4. Check the box labelled Show Password.
    5. Enter your Mac’s administrator password to confirm.

    Once confirmed, the saved password will appear in plain text.

    Frequently Asked Questions (FAQs)

    Who can see my Wi-Fi password?

    Only individuals with access to connected devices or those with administrative privileges to the router can view the saved password. Secure passwords and robust router settings can prevent unauthorised access.

    What is a good Wi-Fi password?

    A strong WiFi password should:

    • Be at least 12-16 characters long.
    • Include uppercase letters, lowercase letters, numbers, and special symbols.
    • Avoid personal details or common words that are easy to guess.

    Which app can find Wi-Fi passwords?

    Some Android apps, such as WiFi Password Viewer, can retrieve saved passwords but may require root access. For other platforms, built-in features like Keychain Access or Command Prompt are more secure and reliable options.

    How can I recover my Wi-Fi password without admin access?

    If you don’t have admin access to your router, retrieving the password will depend on accessing a connected device. Using saved credentials on Android, iOS, Windows, or macOS (as described above) can provide the password without needing router-level access.

    What should I do if I forget my Wi-Fi password?

    If you can’t retrieve the password using the methods mentioned, reset the router to its default settings. This will restore the default Wi-Fi password, which is usually printed on the router. Note that resetting will erase custom configurations, so you’ll need to set up the network again.

    Can Wi-Fi passwords be hacked?

    Wi-Fi passwords can be vulnerable if weak security protocols (like WEP) are used or if the password is easy to guess. To prevent this, always use WPA3 or WPA2 encryption, create strong passwords, and regularly update your router’s firmware.


    Source link